-
Updates & Announcements
-
340B Architect
-
340B Impact
-
340B RxCorrelate
-
340B Monitor
-
340B Written Location
-
340B Central Split
-
All About Architect Webinar Series
-
More Resources
-
Right Side Callout
-
Recent Manufacturer Notices
-
More Videos
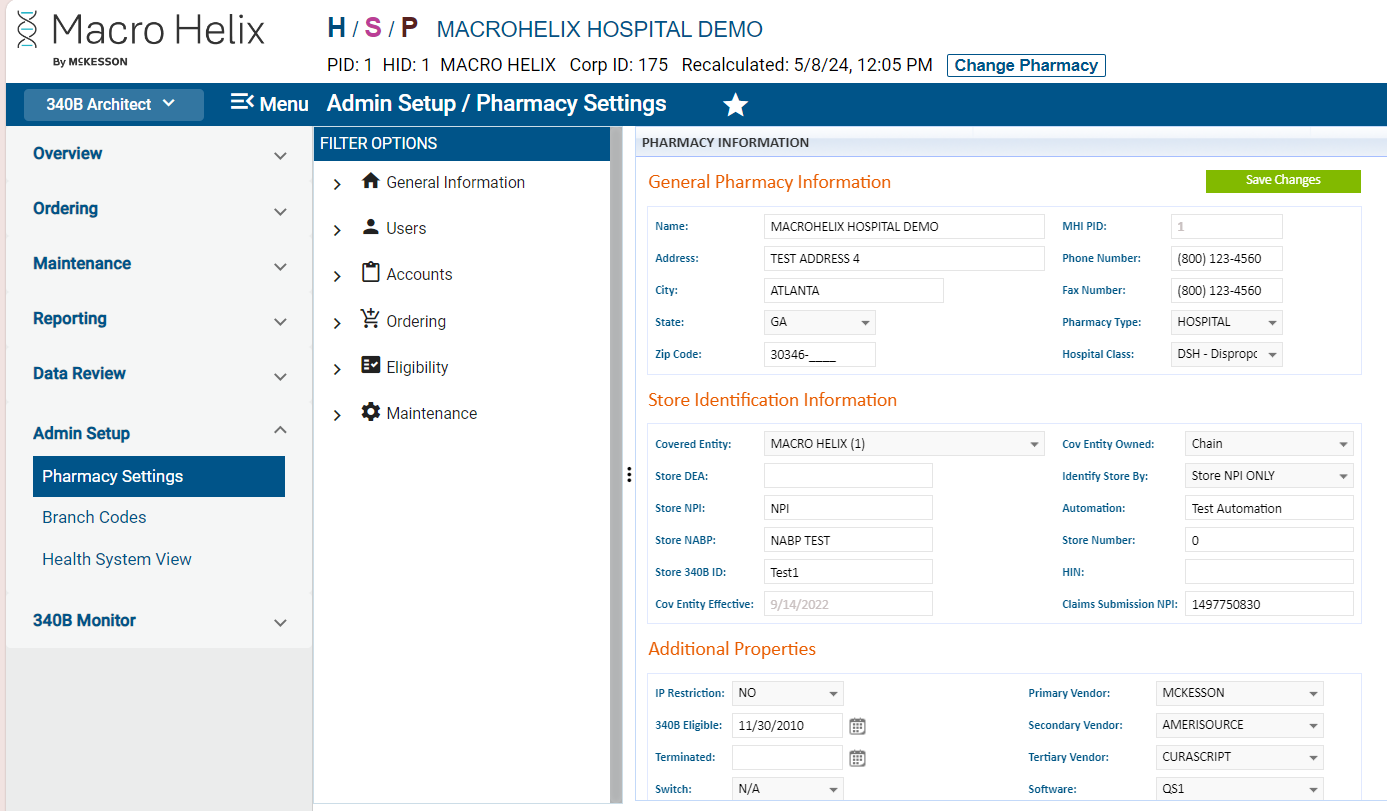
The General Information section contains pharmacy information, Macro Helix settings, contacts, and notes.
Pharmacy Information
Pharmacy Information includes general setup information such as pharmacy name and address as well as store identification information. You can also configure your vendor preferences, 340B eligibility date, switch provider, and IP address restrictions.
To change your pharmacy information, edit the fields using the information in the table below and click Save Changes.
Field |
Description |
General Pharmacy Information | |
Name |
Name of the pharmacy. |
Address |
Pharmacy street address. |
City |
City in which the pharmacy resides. |
State |
Click the drop-down arrow and select the state for the pharmacy. |
Zip Code |
Zip code of the pharmacy, including 4-digit zip code extension. |
MHI PID |
Macro Helix Pharmacy ID number assigned in 340B Architect. |
Phone Number |
Pharmacy phone number. |
Fax Number |
Pharmacy fax number. |
Pharmacy Type |
Click the drop-down arrow and select Hospital or Retail. |
Hospital Class |
Click the drop-down arrow and select one of the following: DSH - Disproportionate Share Hospital CAH - Critical Access Hospital RRH - Rural Referral Hospital SCH - Sole Community Hospital CH - Consolidated Health Center Programs PED - Pediatric Hospital CAN - Cancer Hospital RW - Ryan White Clinic FQHCLA - Federally Qualified Health Center Clinic |
Store Identification Information | |
Covered Entity |
Synonymous with hospital. The covered entity is associated or contracted with the pharmacy. Click the drop-down menu and select a covered entity. |
Store NPI |
National Provider Identifier assigned customer store number. A unique identification number given by HIPPA. |
Store NABP |
National Associate of Board of Pharmacies store number assigned to the customer store. |
Store 340B ID |
340B Architect assigns this number when it assigns the unique Pharmacy ID. |
Cov Entity Owned |
From the drop-down menu, select N/A, Covered Entity Owned, Chain, or Independent. |
Identify Store By |
From the drop-down menu, select what the credentials to identify the store. |
Automation |
From Pharma, this is another pharmacy identification number. It is similar to the Store NPI or Store NABP. |
Store Number |
Store number is for contract pharmacy chains that are differentiated by store numbers. Complete this field with the store number instead of adding the store number to the pharmacy name. |
Additional Properties | |
340B Eligible |
The date on which the pharmacy became 340B eligible or was terminated. |
Terminated |
The date by which a pharmacy is no longer 340B eligible. |
IP Restriction |
You can request to limit the 340B Architect access to work computers/desktops only. You need to provide Macro Helix with a list of the computer IP addresses that you want restricted. |
Primary Vendor |
The vendor that will be used by default to select pricing for drugs. To change the primary vendor, click the drop-down arrow and select a different vendor. |
| Secondary and Tertiary Vendor |
You have the option to set a secondary and tertiary vendor by clicking the dropdown menu. The system will compare prices between the primary, secondary, and tertiary vendors, in that order, to select the lowest price.
*This will not impact ordering - only how we determine the 340B price for a 340B eligible claim.
|
Software |
The pharmacy's third-party software provider used to send data to Macro Helix. To change the software, click the drop-down arrow and select different software. |
Switch |
The switch that the pharmacy uses, such as Relay Health. To change the switch provider, click the drop-down arrow and select a different switch. |
Macro Helix Settings
Macro Helix Settings includes pharmacy properties and billing information. This page is primarily utilized by Macro Helix personnel. These settings are made when you are first set up in 340B Architect. Macro Helix will initially complete the Data Folder field.
The changes you can make are described in the table below. To change settings, edit the fields using the information in the table below and click Save Changes.
Field |
Description |
Pharmacy Properties | |
Active Status |
The active status of the pharmacy in 340B Architect. Select Yes, No, Feasibility or Terminated. |
Pharmacy Chain |
Name of the pharmacy chain. To change the pharmacy chain, click the drop-down arrow and select a different pharmacy chain. |
Data Folder |
Name of the folder in which we receive the pharmacy's data (their daily files). |
Billable Information | |
Billable |
This determines whether or not Macro Helix bills the customer or not. If Yes, Macro Helix sends invoices to the customer. If No, Macro Helix does not send invoices to the customer. Click thed drop-down arrow and select Yes or No. |
Billable Date |
When the Billable field is set to Yes, the date when Macro Helix begins to bill the customer for their scripts. |

Contacts
Contacts allows you to associate preferred contacts for your site. You may have an IT person or point of contact that you want to add here.
To add a new contact:
1. In the left pane under FILTER OPTIONS, click Contacts.
2. Click Add New.

The ADD NEW window opens.
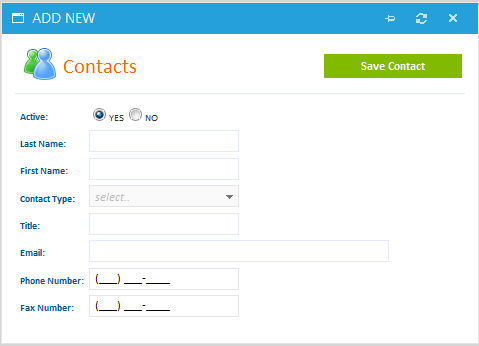
3. Complete the fields in the window and click Save Contact.
To deactivate a contact:
1. Select the checkbox adjacent to the user you want to deactivate.
2. From the Contacts menu bar, click Deactivate.
Notes
Notes allows you to add notes to your site. You can make notes public or private.
To add notes:
1. In the left pane under FILTER OPTIONS, select Notes.
2. Click Add New.

The ADD NEW window opens.
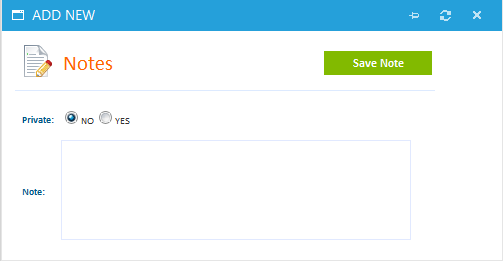
3. If you would like this note to be private, meaning no one but you can view it, select YES. The default is NO.
4. In the Note field, type your notes.
5. Click Save Note.
6. To deactivate a note, select the check box adjacent to the note you want to deactivate and click Deactivate.
Related articles and content:
 View Pharmacy Settings
Table of Contents