-
Updates & Announcements
-
340B Architect
-
340B Impact
-
340B RxCorrelate
-
340B Monitor
-
340B Written Location
-
340B Central Split
-
All About Architect Webinar Series
-
More Resources
-
Right Side Callout
-
Recent Manufacturer Notices
-
More Videos
Overview
The Manual Uploads Page gives users the ability to upload various file types such as adjustments, drug catalog, purchases, etc. into 340B Architect. These manual uploads are used to upload multiple lines of data instead of adding the data one line at a time. To avoid errors while making a manual upload, we recommend using the provided templates for each file type.
How to Upload Data
1. Go to Data Review > Manual Uploads.
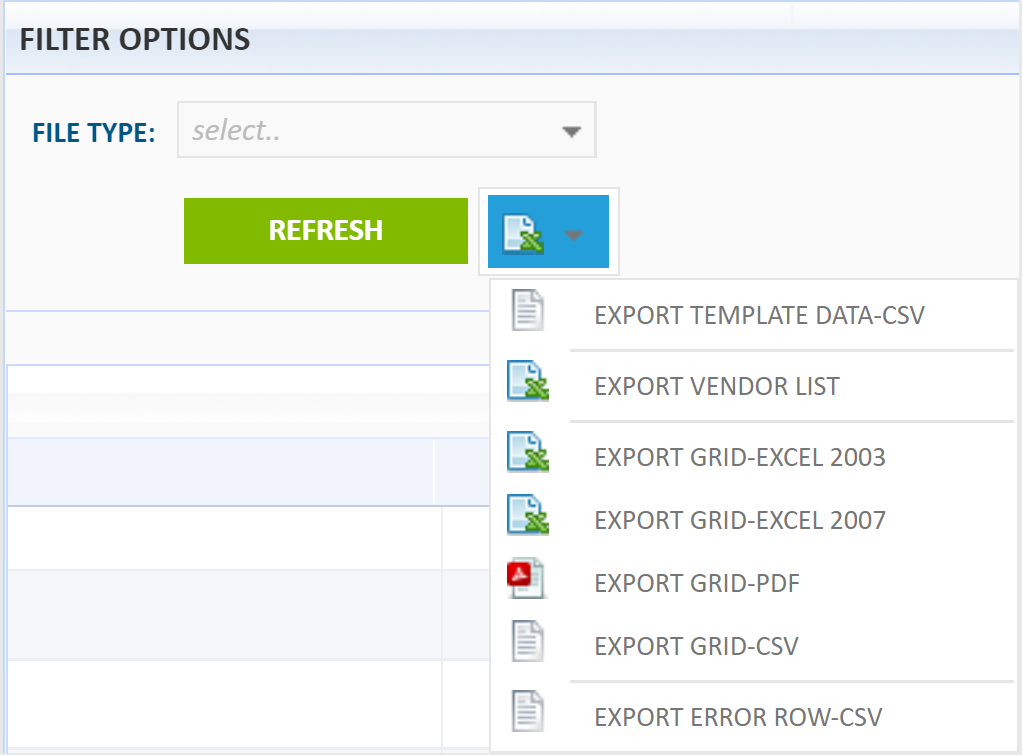
2. In the Filter Options Panel, select the File Type you plan to upload from the dropdown.

3. From the Export dropdown, select EXPORT TEMPLATE DATA-CSV. The template for the selected file type will appear in your browser's downloads. Update the template as needed and save as a .csv file.
4. Click the Upload File button. The FILE UPLOADS popup will open.

5. From the Date Format dropdown, select the format that matches the dates in your template. NOTE: For the file uploads (e.g., Adjustments) that do not have a date within the file, a date format still must be selected.
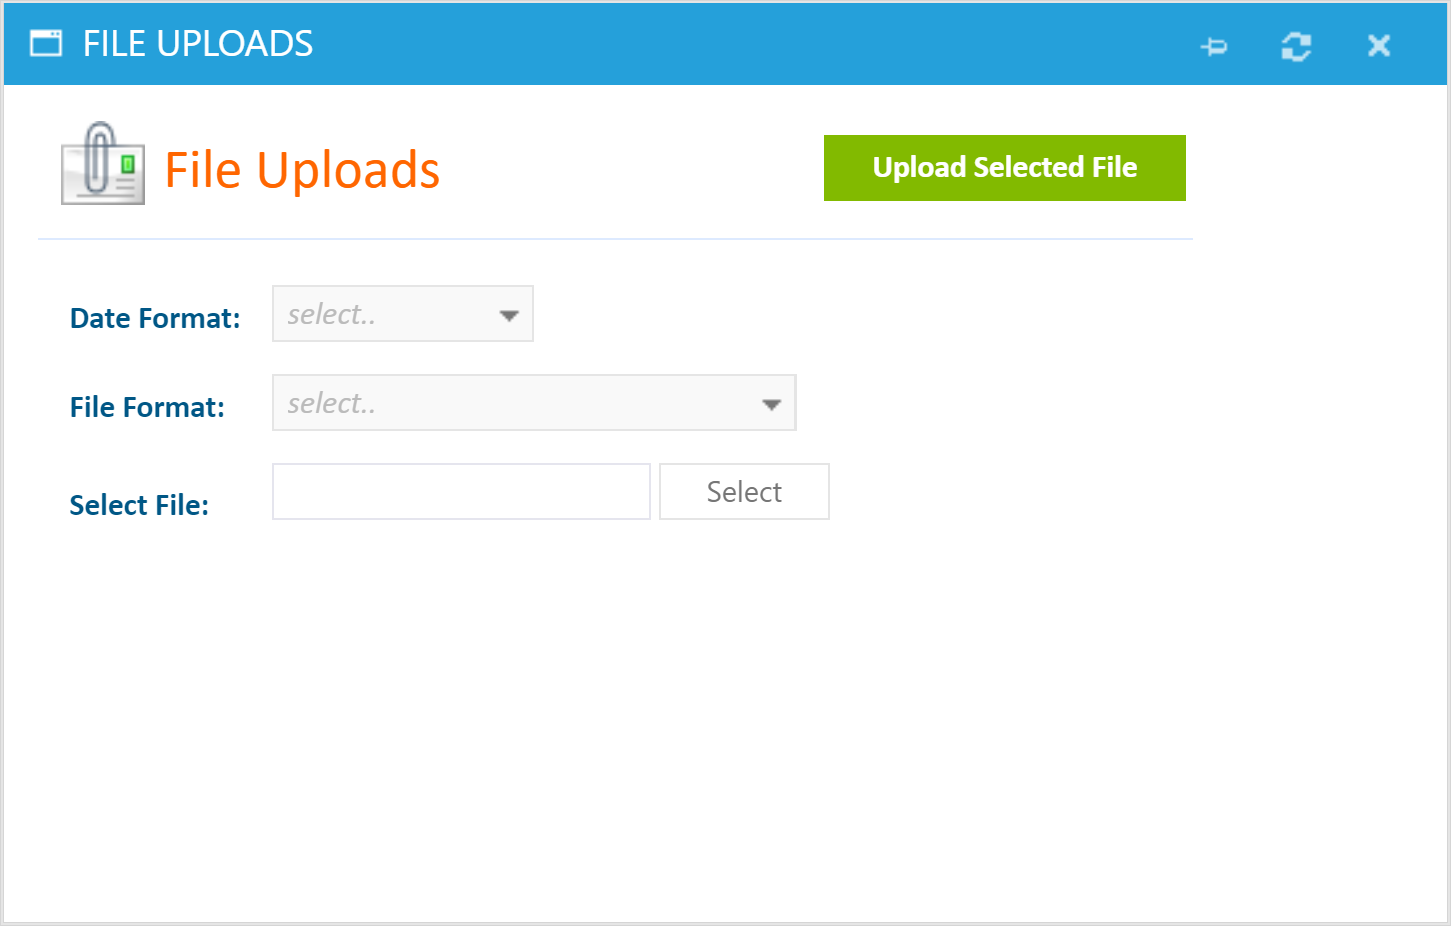
6. From the File Format dropdown select the file type.
7. Click Select to search for the saved .csv file. Click Open.
8. Click Upload Selected File to add the data to 340B Architect. The data will then load on the page.
9. After your file has uploaded, review the data for any errors. If any data is incorrect, use the following steps to make your correction(s):
- To delete any rows, select the necessary data rows and click Delete Selected.
- To clear all the data, click Clear Data to remove all items from the page. There is no need to select any lines.
- To make edits or adjustments, click Export Data. Upload the updated data file after making your edits / adjustments.

10. If all data is correct, click the Apply Data button to add the selected data to your PID.
Error Messages
If the file you attempted to upload fails, you'll receive a warning message informing you to export the error rows.
- From the FILTER OPTIONS, click the Export dropdown and select EXPORT ERROR ROW-CSV. This action will only export the row(s) that contains an error(s), but it does not indicate what the error(s) is.
- Examine the error row(s) and make corrections to the original file. After correcting the original file, you can upload it again.
 Retail Status Change Overrides