-
More Resources
-
Updates & Announcements
-
340B Architect
-
340B Impact
-
340B RxCorrelate
-
340B Monitor
-
340B Written Location
-
340B Central Split
-
All About Architect Webinar Series
-
More Resources
-
Right Side Callout
-
Recent Manufacturer Notices
-
More Videos
Overview
From the User Groups Page within the User Access menu, you can view, edit, add, and delete User Groups within Corporate IDs. Creating User Groups is a way to combine all users that will have same level of permission and access to the same pharmacy or hospital data. This allows you to assign permissions at the User Group level, instead of manually adding permissions to individual users.

User Group: A specific set of users with the same permissions and access to data. For example, “Inpatient Pharmacy Buyers” or “Retail Analysts”.
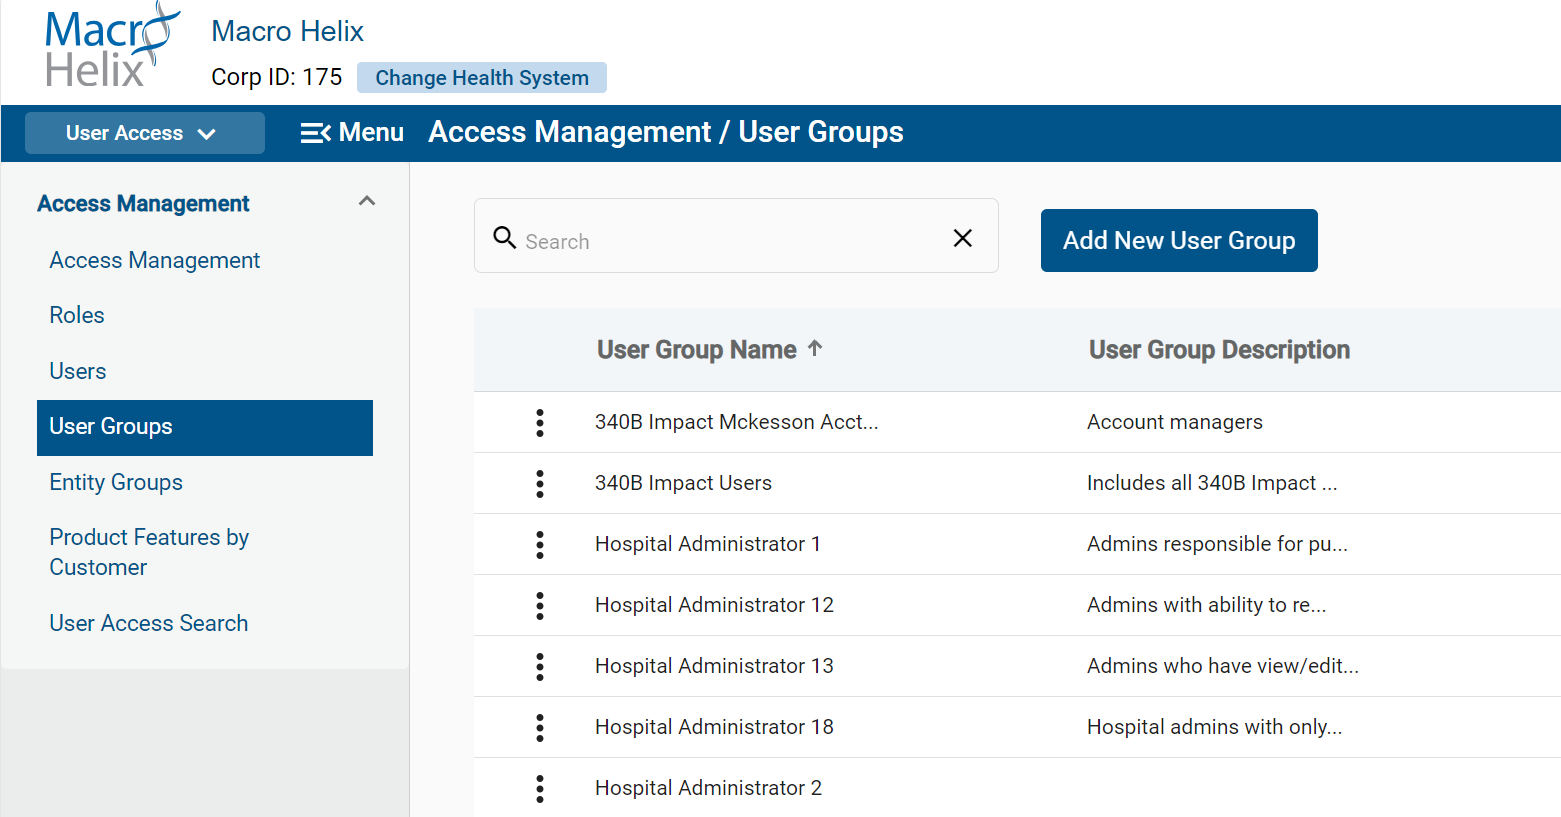
The User Groups page displays a list of user group names, along with a description of each user group. For longer user group names or descriptions, hover over the text to view the full name or description.
- Ex: Buyers: Responsible for purchasing, inventory, distribution, and record keeping.
You can search by user group or description to filter the list of user groups.
User Groups Best Practice
We recommend creating User Groups based on job roles.
For example, instead of creating one larger “Pharmacy Buyers” User Group, you could create two more specific User Groups: “Hospital Pharmacy Buyers” and “Retail Pharmacy Buyers”. Creating these two distinct User Groups could allow you to give one group the ability to see hospital data and the other group to see retail data.

How to Edit User Groups (Name and Descriptions):
- Click the ellipses icon to the left of a user group name, and then View Details/Edit.

2. Click the Edit button. You can now change the User Group name and description.
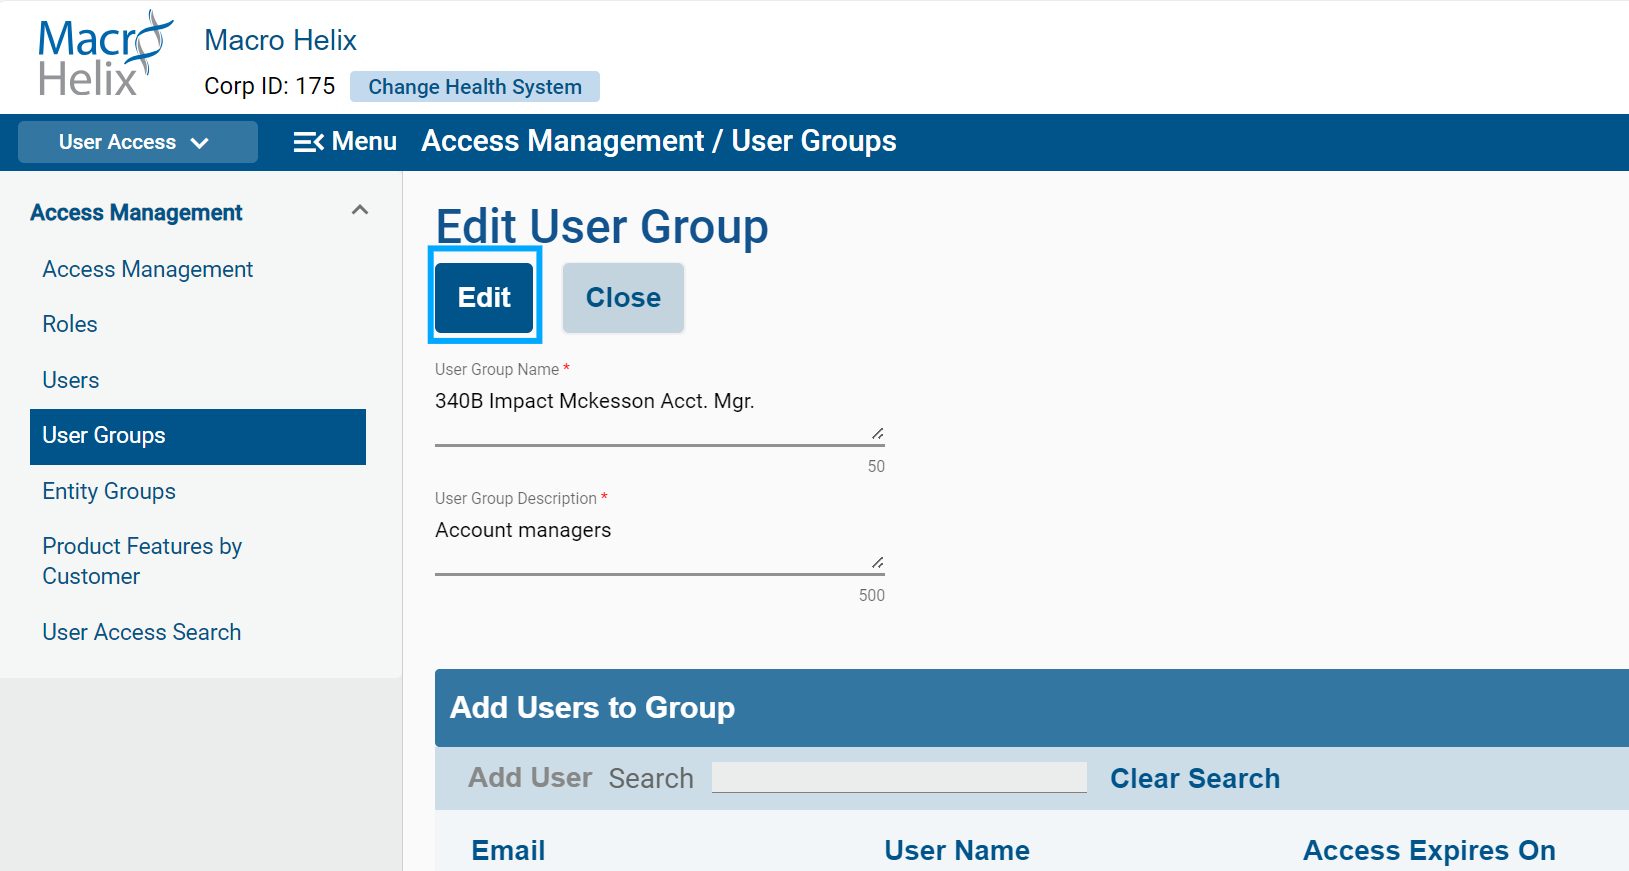
3. Click Save.
How to Inactivate Users
On the Edit User Group page, set an Access Expires On date to inactivate (terminate) a user. This can be set as the current date or a date in the future.
How to Delete User Groups:
If permissions allow, you can permanently delete a User Group from the User Groups page.
1. Click the ellipses to the left of a User Group Name and then select Delete.

2. A confirmation message will appear, asking you if you are sure you want to delete the user group. Click Delete to remove the user from the list.
Errors
There are some cases where attempting to delete a user could result in an error.
If this is the case, you may need to unlink the User Group from all relationships.
This action will be displayed in the transaction log, along with the user name of the person who deleted the user group, the date, and the name of the user group deleted.
Deleting User Groups in Bulk
1.On the top of the User Groups page, click Delete User Group.
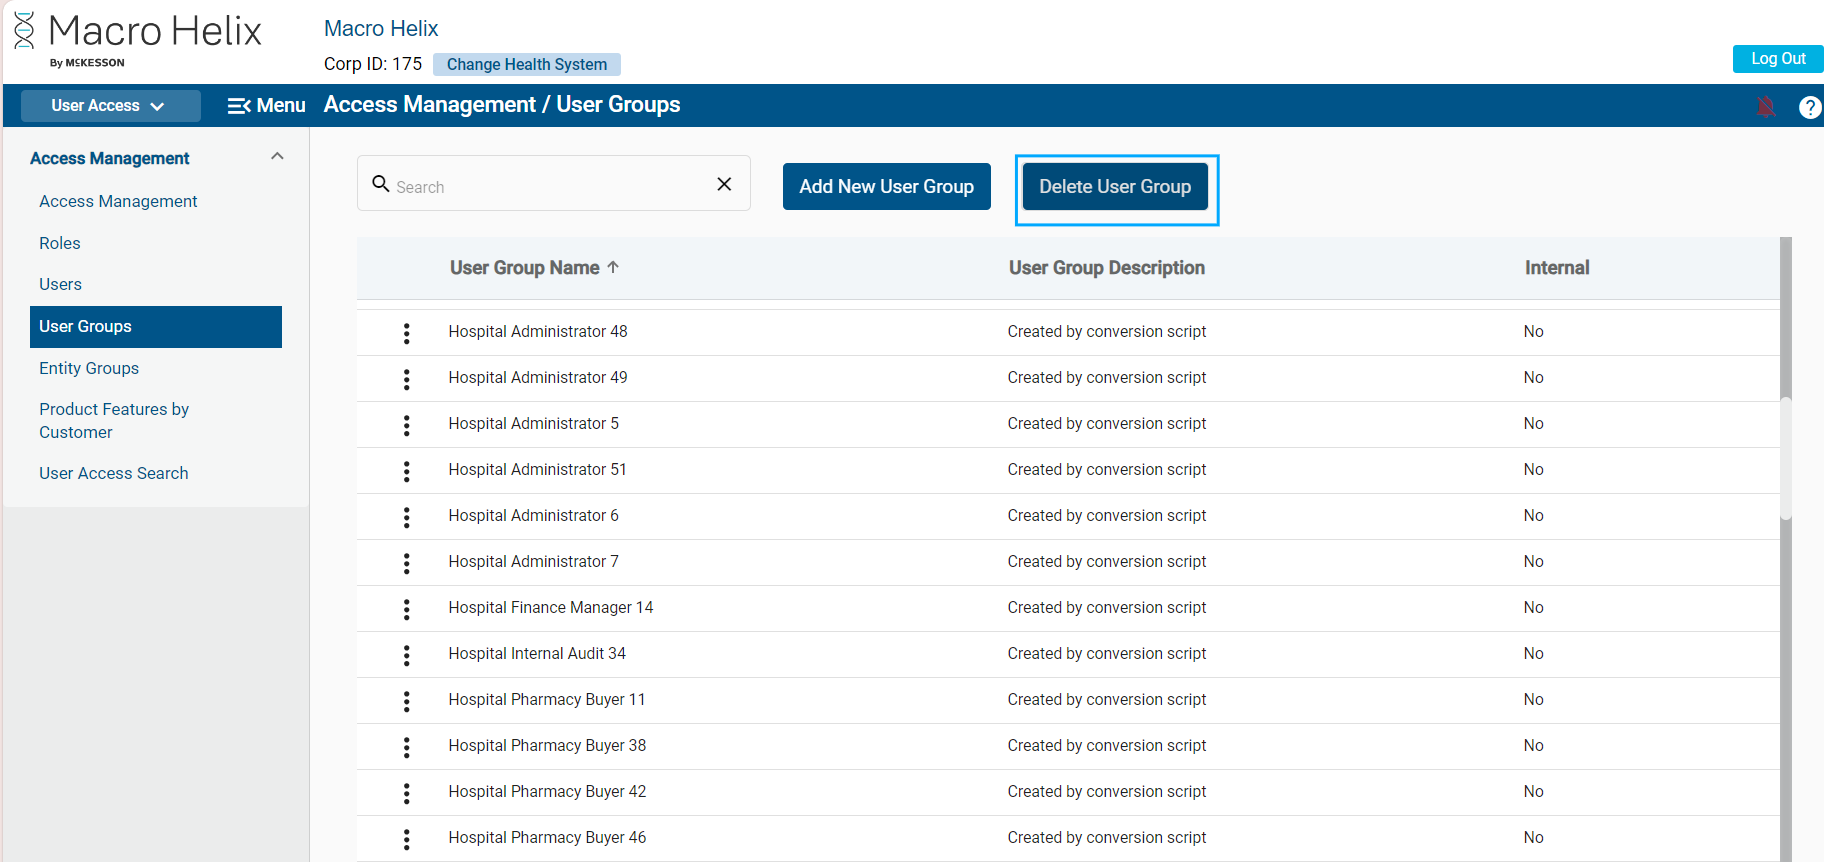
2. From the Delete User Groups popup, check the User Groups you would like to delete. Or, click the box in the header to select all.

3. Click Delete.
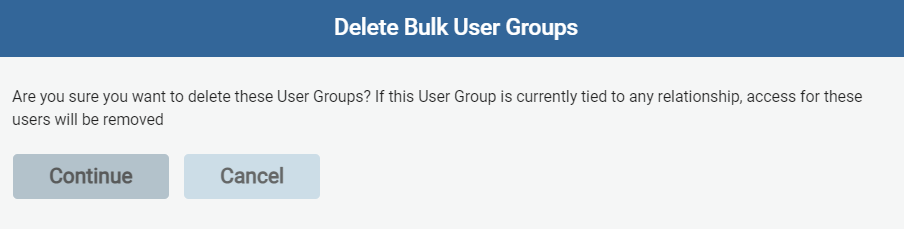
4. A message will appear alerting you that if these User Groups are tied to relationships, access for these users will be removed. Click Continue.
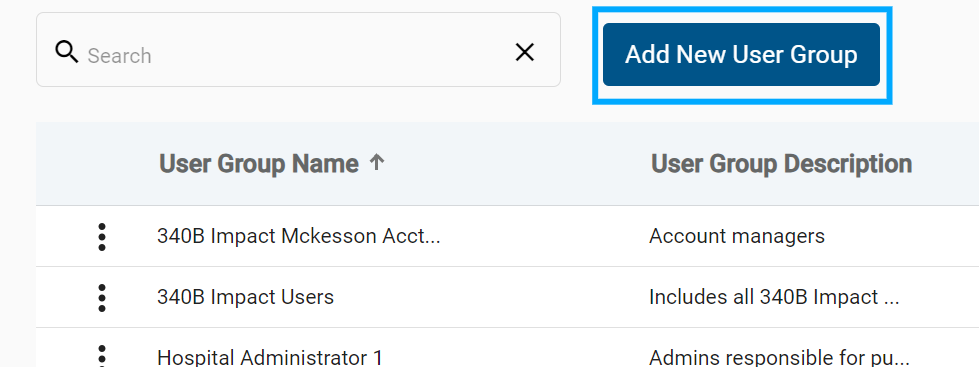
How to Add New User Groups:
- From the User Groups page, click the Add a New User Group button.
2. From the Add New User Group page, enter a User Group Name and a Description for the group.
You cannot create duplicate User Groups within a Corporate ID. If a duplicate user group is created, an error will appear notifying you that duplicate user groups cannot be created. You will need to create a unique User Group name.
3. Click Add User in the table below.

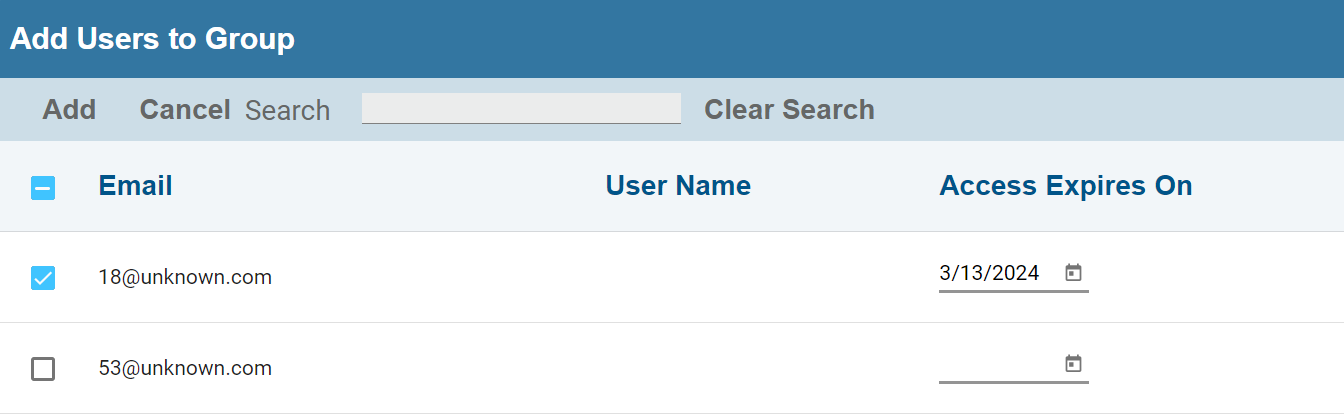
4. Use the checkboxes in the popup window to add the desired users to the User Group.
- Use the search bar to look for specific users.
- To pre-set a date where a user is no longer included in a user group, click on the calendar icon below Access Expires On and choose an expiration date.
What if I am a User Admin and will be out of office?
Setting an expiration date on a user's access, as shown below, is one way to temporarily give access if you need a backup user admin.
5. Click Add.
6. Click Save at the top of the Add New User Group page.
 Users Page