-
More Resources
-
Updates & Announcements
-
340B Architect
-
340B Impact
-
340B RxCorrelate
-
340B Monitor
-
340B Written Location
-
340B Central Split
-
All About Architect Webinar Series
-
More Resources
-
Right Side Callout
-
Recent Manufacturer Notices
-
More Videos
Overview
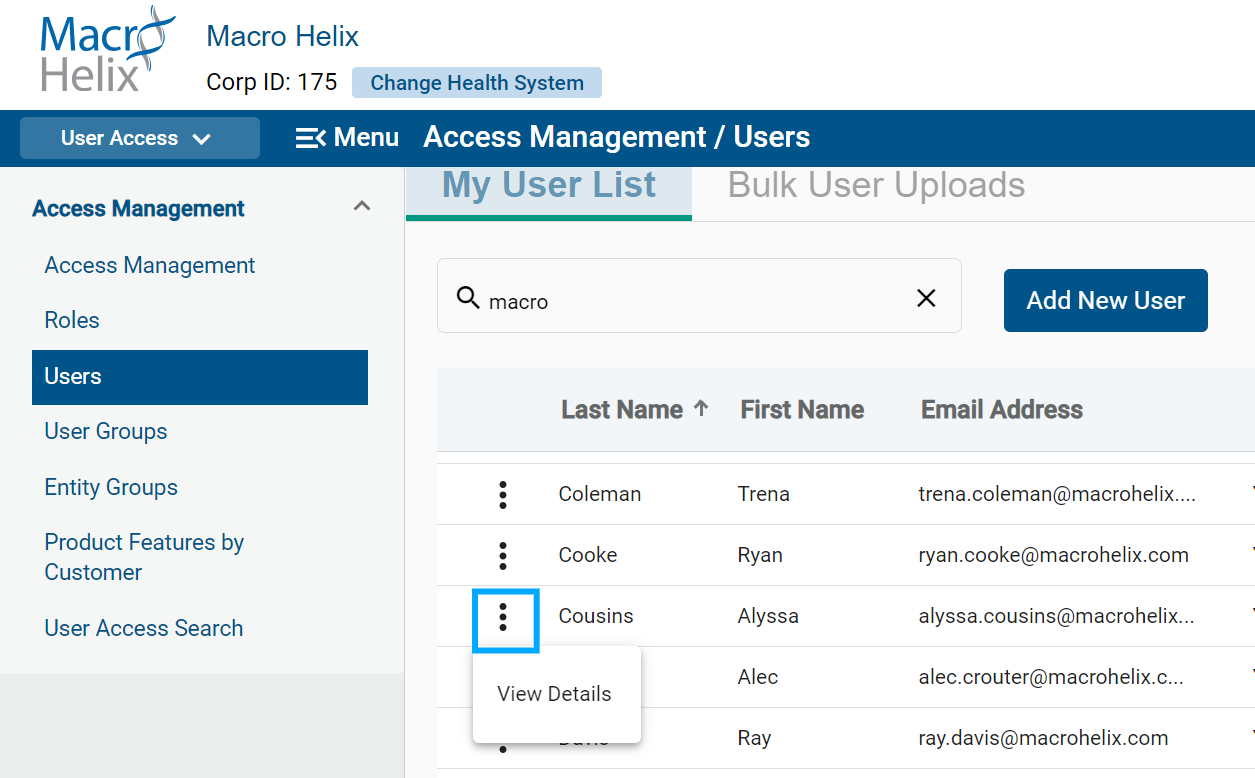
The Users Page within User Access displays a list of all Users within your Corporate ID, along with a User Profile and Status. From this page, you can manage users by:
- adding new users
- terminating users
- deleting users
- setting Alternate Logins
- password resets
- view currently assigned Publications and Reports
- set access expires on date
The page will display the following information:
- Last Name
- First Name
- Email Address
- Last Login: Date/Time
- User ID
- Status: Y=Active, N=Inactive
You can search for specific first names, last names, email addresses, and user IDs within the search bar. In addition, each column is sortable in ascending/descending order by clicking the column header.
To the left of a name, you can click the ellipses to View Details or Edit the User information.
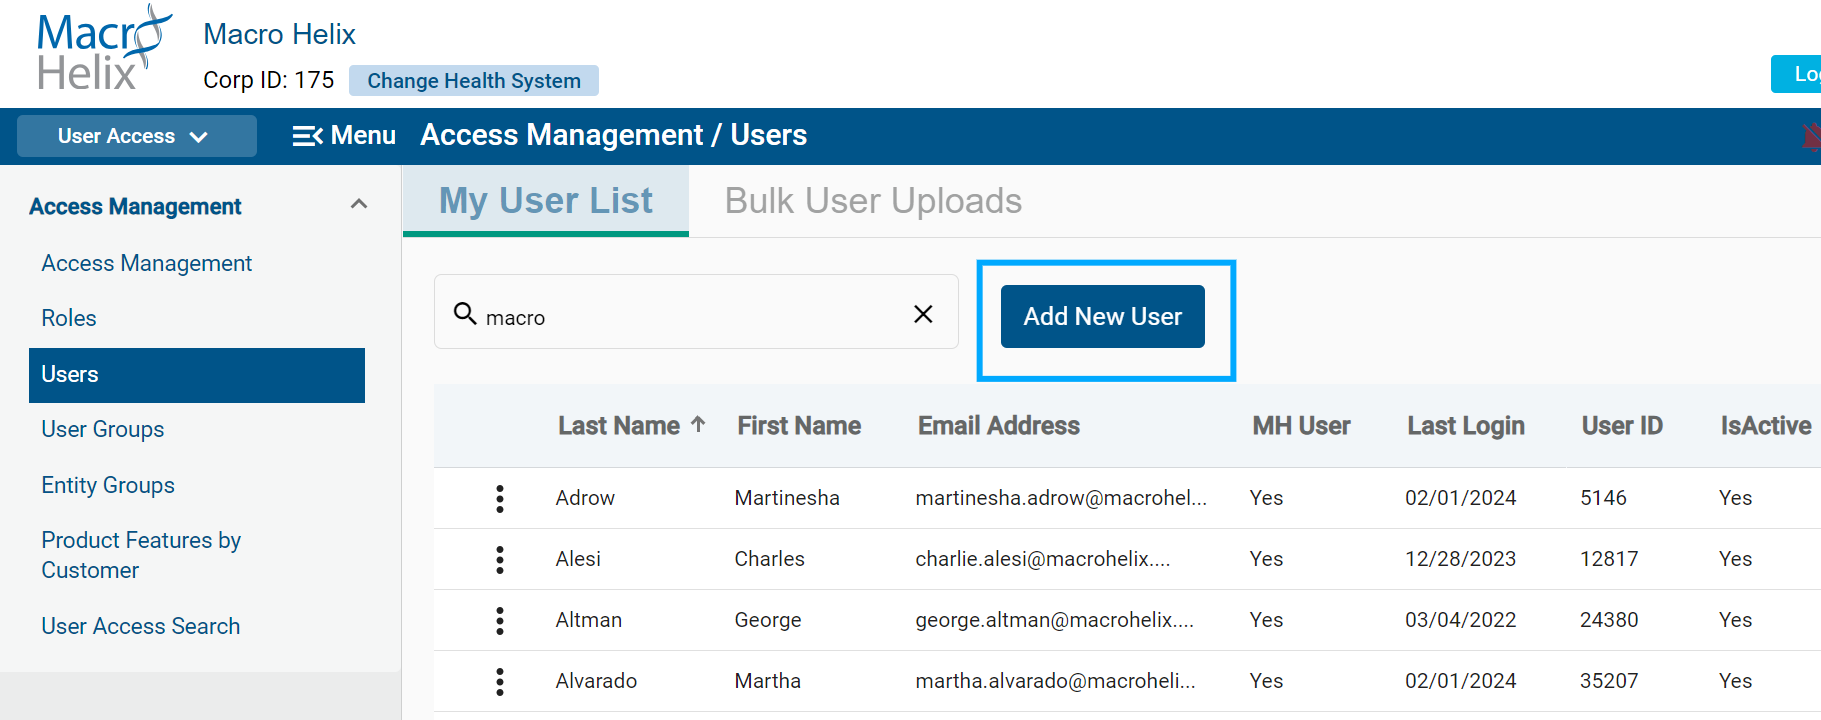
If permissions allow, you will see an Add New User button at the top of the page to create new Users.
How to Edit User Information/Termination Date
You can update active users from the Users page.
1. Click the ellipses icon to the left of a username.
2. Click View Details.
- If a user is terminated, only the Termination date will be editable. If the termination date is removed, the rest of the fields will become editable.
- Terminating a user from this page will terminate them from 340B Architect. To remove a user from specific HID/PIDs, you will need go to the User Groups page and remove the HIDs/PIDs under the Entity Group section.

3. On the top of the View Details page, click Edit. The Edit option will not be available if the user is not active, but you will still be able to view the details. For active users, you can edit the following fields:
- Last Name
- First Name
- Job Title
- Phone
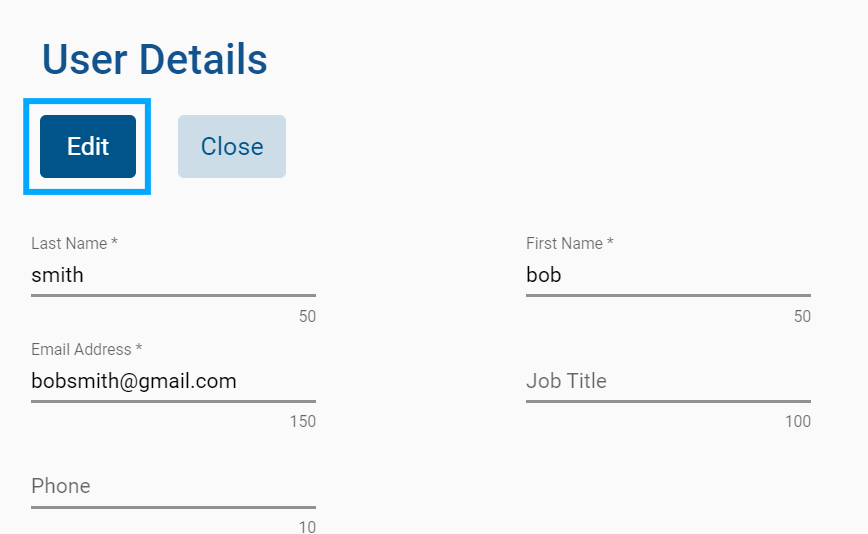
4. After making the desired edits, click Save at the top of the page.
- If you click Cancel before saving your changes, a popup will appear giving you the option to Continue Editing or to Cancel. Clicking Cancel will return you to the Users page without saving any edits.
FAQ: Am I able to edit a user's email address if, for example, they change their last name?
Yes, follow the steps above to edit an email address.
Creating New Users
How to Add a New User
1. Click the Add New User button at the top of the Users page.
2. The Add New User Page will open, allowing you to add the following information:
- Last Name: required
- First Name: required
- Email Address: required
- Job Title: optional
- Phone number: optional (10-character limit, numbers only)
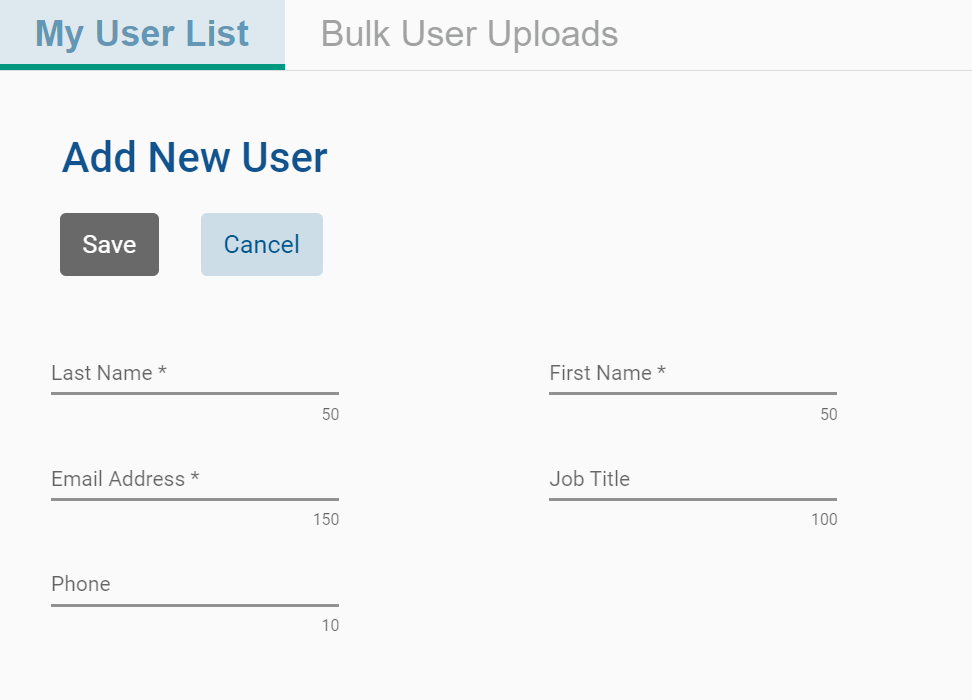
4. After entering the required user information, click Save. The new user will now appear on the Users page. Tip: The User list is in alphabetical order - you may need to scroll down to see a newly created user.
- The user will display as Active by default. (Y in the Status column)
- UID is autogenerated
- Last Login: Date the user last logged in
Shortly after the user is created, the new user will receive an email with an invitation link.
Clicking Cancel will return you to the Users page without adding a new user.
Request for Invoice Access and Integration will remain the same. The case will be escalated to the User Access PR cases Teams channel and completed by a Team Lead.
How to Delete a User
Click the ellipses button next to a user and then select Delete. This option will only show if the user is not part of any user groups.
How to Add Users in Bulk
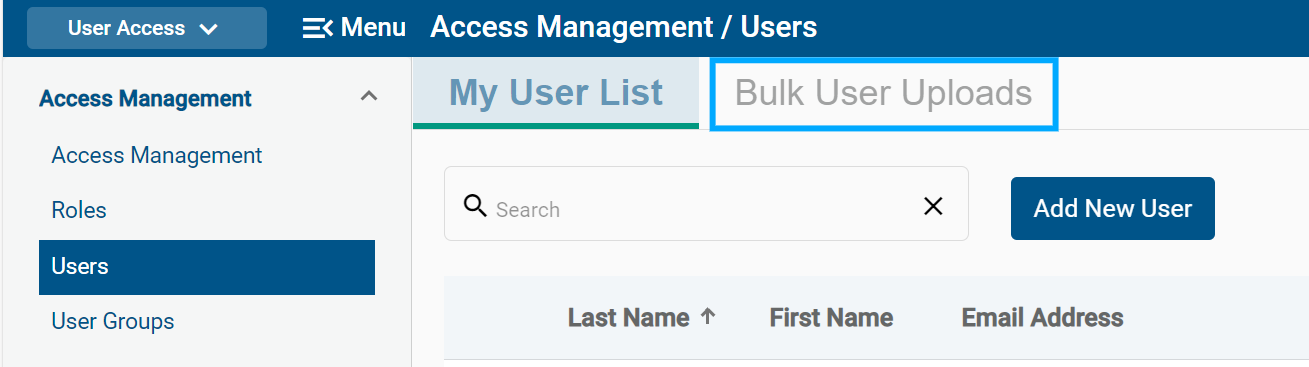
1. Navigate to User Access > Users via the product menu in 340B Architect.
2. Click the Bulk User Uploads tab.
3. Click Download Template for a blank template to fill out.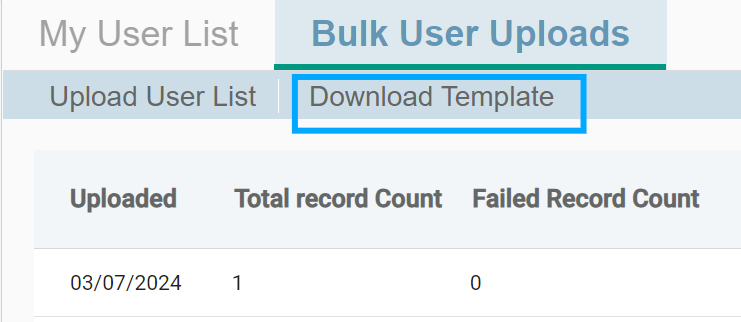
- Required fields:
- Last Name
- First Name
- Optional fields:
- Title
- Phone
- The template must be saved in a CSV format to be uploaded.
4. Once filled in, click the Upload User List button.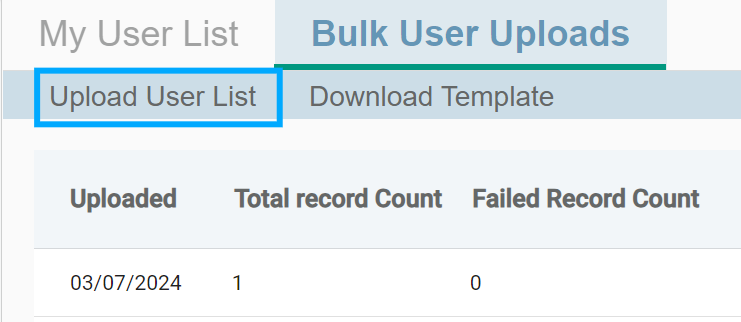
5. On the Upload User List window, ensure the date format in the template matches. 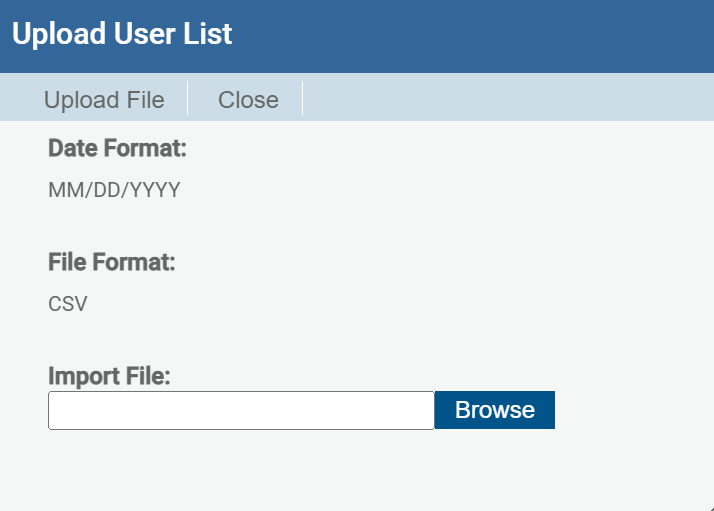
6. Click Browse to locate the template on your computer and select it.
7. Click Upload File.
You will be able to see the status of your upload in the far-right column of the Bulk User Uploads Page. A failed upload means that none of the users were uploaded successfully. A partial upload means some users were added successfully and others were not. Download the error file to see more details on why a file was not fully uploaded.
How to Add a New User to a User Group
While adding a new user from the Users Page, you can also add that user to User Groups.
1. Click Add New User and enter the required information.
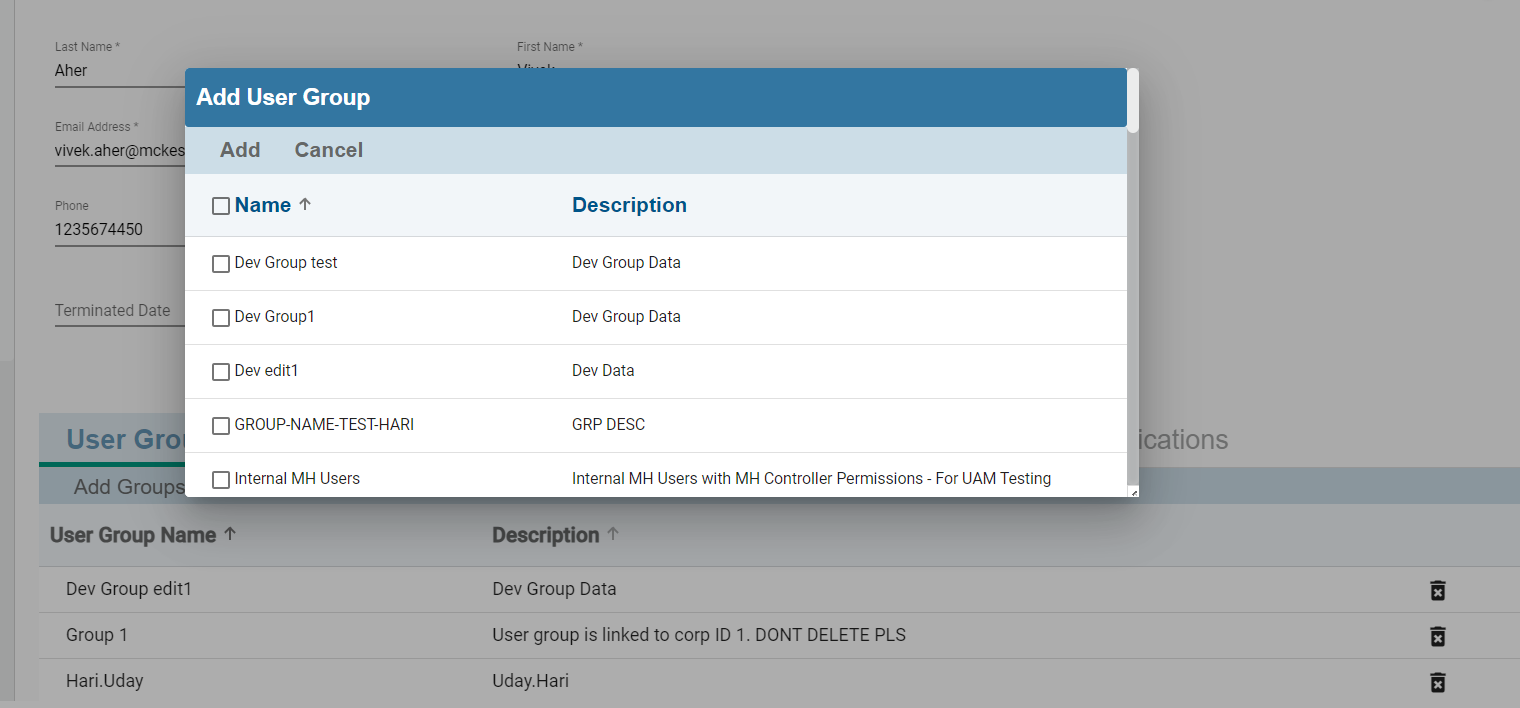
2. Click Add Groups below the user details.

3. The Add User Group popup will appear, displaying all User Groups within the Corporate Parent. Select the desired User Groups.
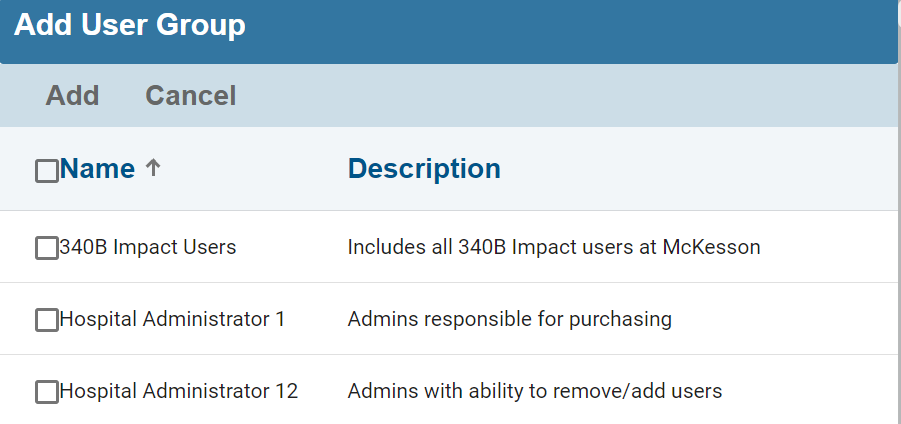
4. Click Add. The popup will close, and the Group Name will now appear in the User Groups table.
5. To make edits, click the ellipses to the left of the User Group, and then Edit or Deactivate.
Viewing User Details
From the Users Page, you can learn more about each user, for example, what user groups they are assigned to, any publications and support cases, and more, without navigating to other menus.
Click the ellipses icon to the left of a username, and then View Details.
The User Details Page will open, which allows you to view or edit details of a user, depending on your permissions. From this page, you can also view and edit information about scheduled reports, submitted cases, and more.
Scheduled Reports:
The Scheduled Reports tab will display the Report ID, Report Name, Frequency, Export Format, and Effective Date for any reports you have scheduled. If you have edit permissions, you can also delete a scheduled report by clicking the trashcan icon.

Submitted Tickets:
The Submitted Tickets tab will display any support cases that the user has submitted, including the Submitted Date, PID, Pharmacy, Category, Subject, Ticket Description, and Resolution Notes.
Publications:
From this tab, you can view the name and description of any publications assigned to you.

Alternate Logins
From the Alternate Logins tab, any alternate logins will be displayed, along with Vendor Name, Login Name, and Date Added.
To add an Alternate Login, click Edit and then Add New Login Name. Click to open the following popup, which allows you to choose a Vendor and a new Login name.

You can also delete an Alternate Login by clicking the trashcan icon within the table.
McKesson Integration Users: The ability to add McKesson as a Vendor is not yet available - these requests will need to go through Macro Helix Support. McKesson Integration will become available later this year.
Adding/Deleting a User Group from a User Profile
Click Add Groups in the User Groups table.
A popup will appear allowing you to select from a list of User Group Names by clicking the checkboxes. Only groups within your assigned Corporate ID will display.
Click the trashcan icon in the User Groups table to delete a group from the User Details page.
Password Resets
User Administrators will be responsible for managing any password resets for their users.
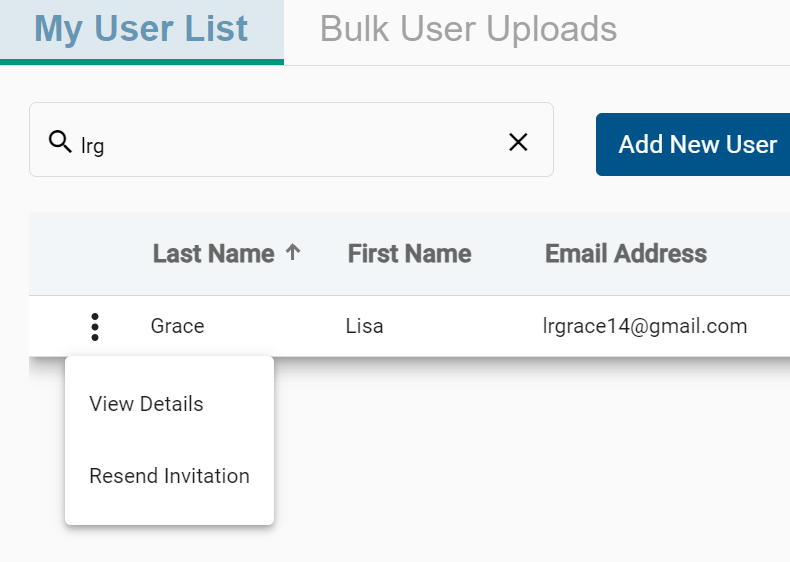
Click the ellipses next to the username and then Resend Invitation. An invitation to reset their password will go to their listed email address.

Access Expires On
On the Users Page > View Details > User Groups, you can select Access Expires On within the grid and in the Add Groups popup. This will allow you to easily remove a user's access to multiple User Groups.
- You can select a current or future date only
Related articles and content:
 Roles Page
Table of Contents